
From Storage to Office: A Complete Attic Renovation Guide
Having just completed our attic renovation, I wanted to share the details of what we did, the process, and the costs. I wish I had this information upfront—it would have saved me a lot of time! If you're considering a similar project, I hope this helps you navigate the process more efficiently. After all, attic renovations aren’t something most of us undertake regularly.
The Idea
We live in a two-story townhouse with a fairly standard layout. The ground floor is an open-plan living area that includes the kitchen and dining space. The first floor has three bedrooms and two bathrooms. The master bedroom is quite large, spanning about 5.5 meters in width.
There was a pull-down manual ladder in the upstairs landing that provided access to the roof space, which is approximately 20 square meters. Around half of this space is tall enough to stand in, while the rest has a sloped roof with limited headroom.
Objective: Transform the attic into a functional home office that could be used five days a week, rather than just an occasional space.
Pictured below: This was what we started with


Planned Renovations
Remove the existing walk-in robe, which was poorly designed and underutilised.
Install new built-in wardrobes to provide floor-to-ceiling storage, doubling our hanging space and adding drawers.
Replace the walk-in robe with a permanent staircase to the attic (cost permitting).
Install skylights to bring in natural light.
Plasterboard the roof framing to create a polished, aesthetically pleasing workspace.
Add power points (there was a light switch but no dedicated outlets).
Install a new air conditioning vent connected to the existing ducted system (cost permitting).
Choosing Tradespeople
Once we had a clear vision, the next challenge was finding the right professionals and ensuring the project fit within our budget.
Part 1: Built-In Wardrobe
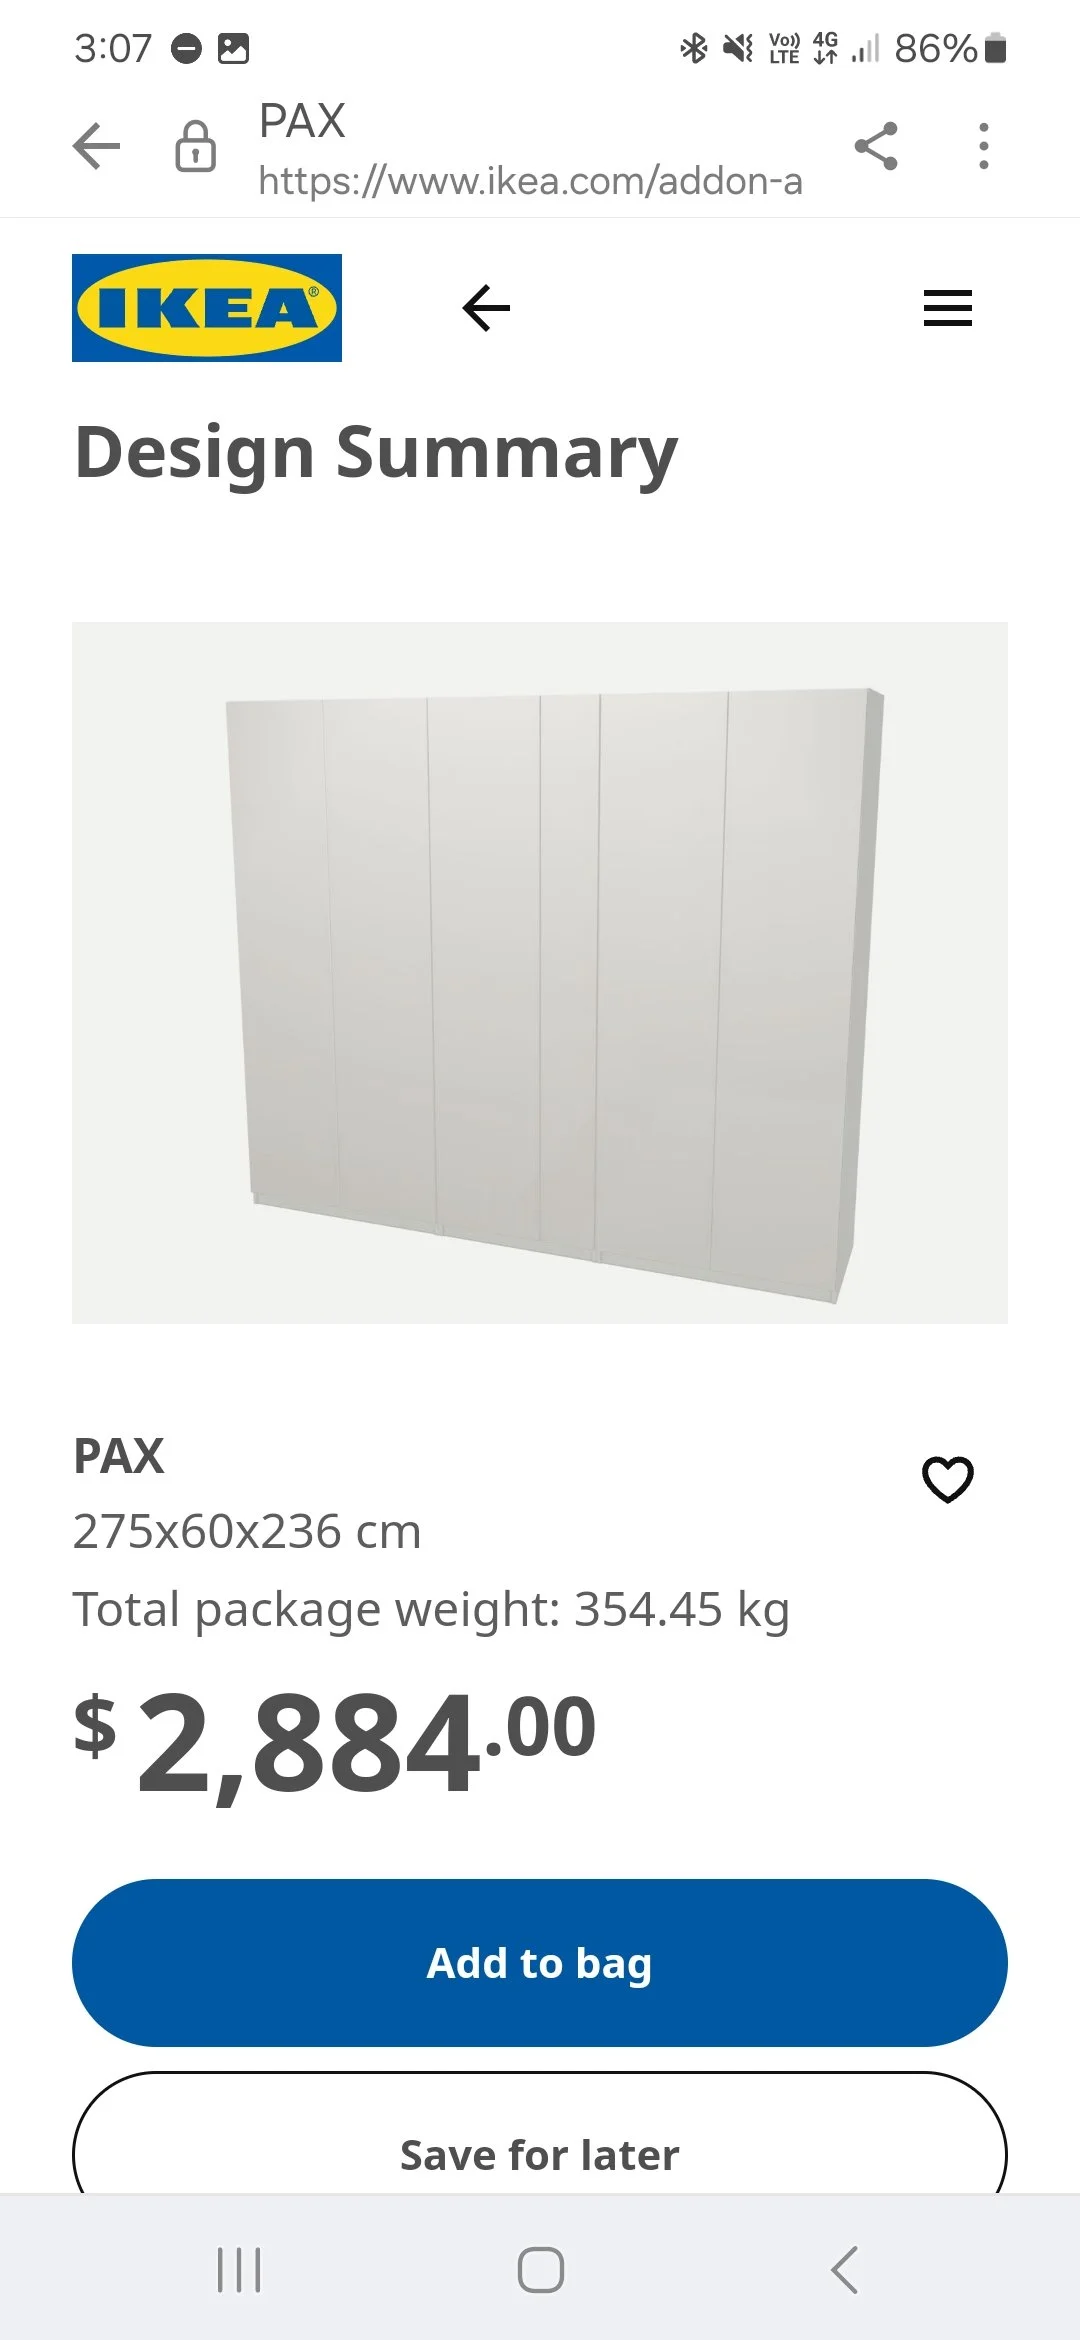
Initially, I considered an IKEA wardrobe due to its practical designs and affordability. My mock-up design came to $2,880, plus $400 for installation (which I highly recommend unless you want your marriage tested!).
To compare costs, I reached out to three custom wardrobe companies. Two provided phone estimates based on photos, which wasn't ideal since we weren’t entirely sure what we wanted. One even required a 50% deposit before an in-person inspection, which wasn’t an option for us.
Fortunately, the third company was fantastic. Their representative brought samples, photos, and a detailed breakdown of costs, allowing us to adjust the design if needed. Their custom build, which reached the ceiling and was fully installed, came to $3,150—a great outcome compared to the IKEA option. In hindsight, I regretted not making this upgrade years earlier.
Pictured below: What I had mocked up on IKEA and what our final custom product ended up being.

Part 2: Attic Renovation Quotes
Finding accurate pricing for the attic renovation was more challenging. I contacted three companies:
One specialised attic renovation company quoted $88,000 - $95,000 based on photos and floor plans, with a build time of 6-7 weeks.
Another attic renovation company visited the site and quoted $88,000 - $92,000, contingent on a $2,000 engineer assessment fee.
A local roofing company quoted $88,000 after claiming to be cheaper than "attic specialists"—which they weren’t.
At this point, we considered breaking the project into separate trades to cut costs. However, pricing individual elements still added up:
Skylights and plaster boarding the attic: $18,000 (assuming permanent stairs were already installed for easier access).
Staircase installation: $3,300 (excluding wall demolition and floor reinforcement which we’d need to find a builder for).
Ultimately, managing multiple trades seemed inefficient. Based on a recommendation, I contacted a trusted builder, Charlie. He not only quoted the staircase but offered to quote the entire project. While I was initially sceptical, he asked insightful questions and provided a design that balanced our needs with cost efficiency.
Charlie was our guy!
Navigating Strata Approval
As our townhouse is part of a strata complex, we needed official approval, primarily due to the installation of a permanent staircase.
As a former property lawyer and strata specialist, I drafted the by-law myself, which would typically cost around $1,000 if done professionally. The by-law included:
A scope of work
Diagrams of affected areas
Details of tradespeople, their licenses, and insurance information
After submitting the by-law to the Strata Manager, an electronic vote was held, and approval was granted. Once the by-law was registered, we scheduled Charlie to start the project.
Securing strata approval in advance is crucial to avoid issues when selling, as unauthorised modifications can be a red flag for buyers.
The Build Process
The entire project took Charlie and his team four weeks. Here’s how it unfolded:
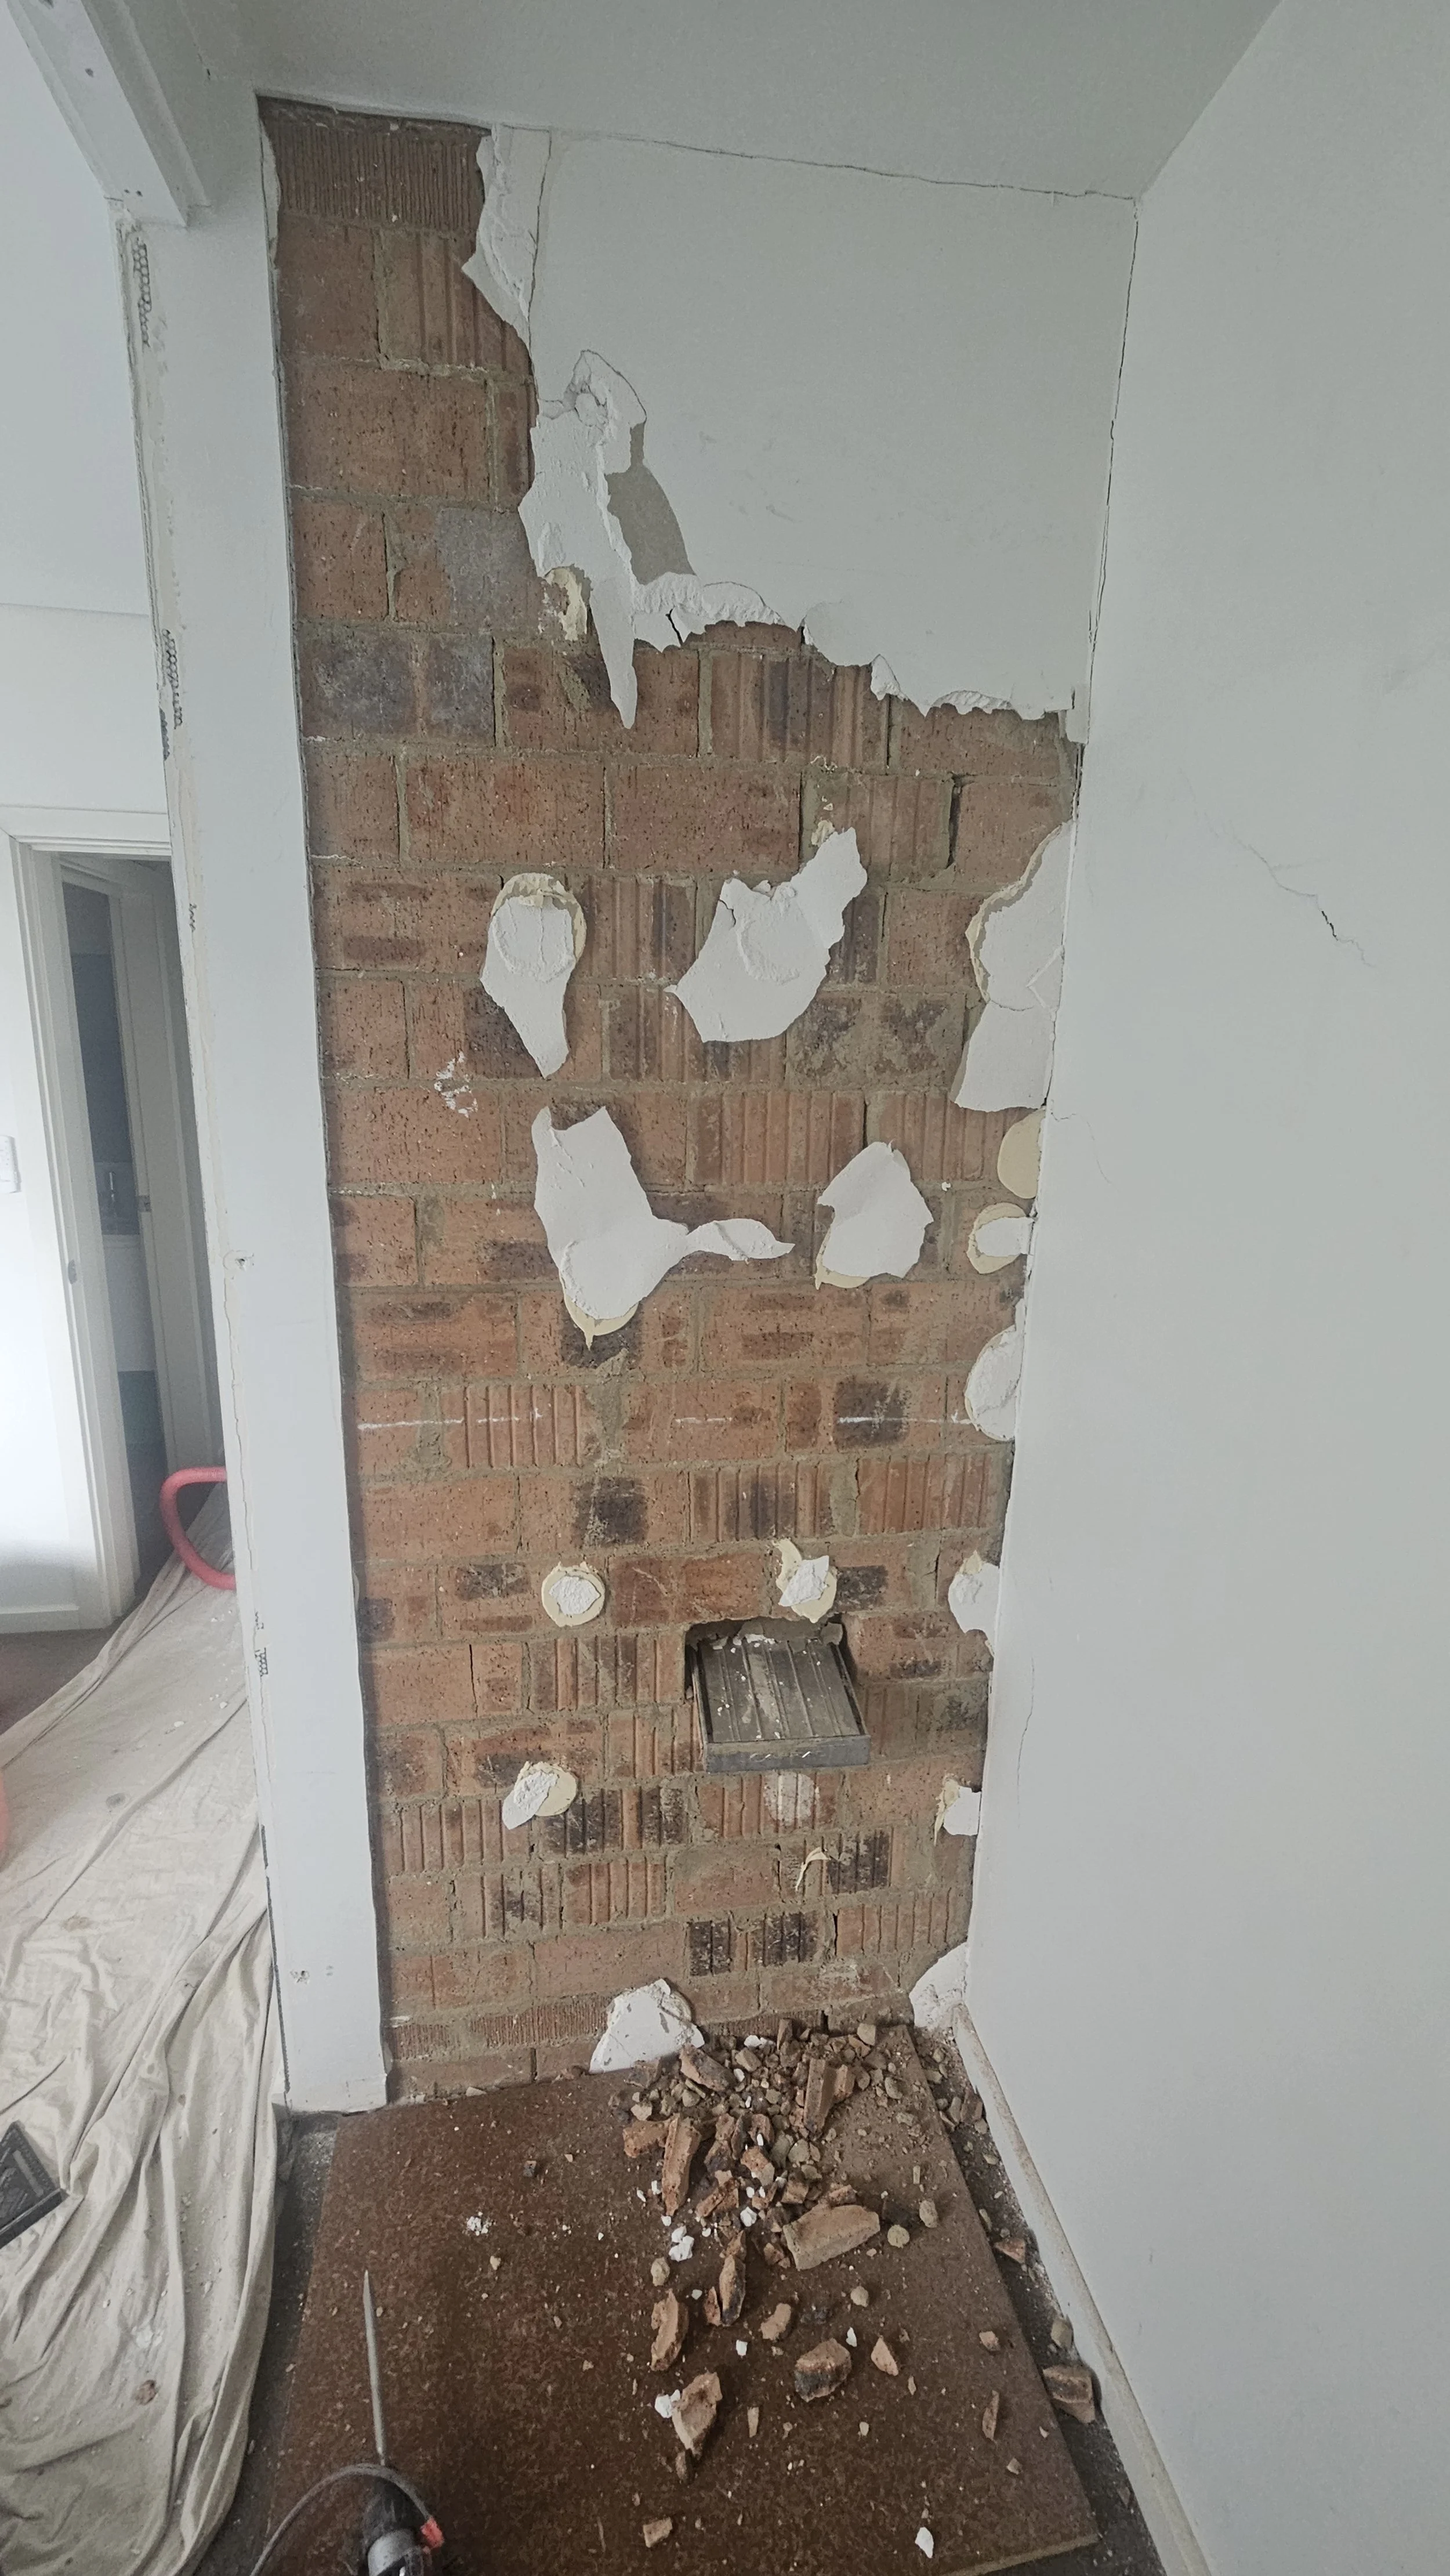
Demolished the wall to make space for the new staircase.
Reinforced the attic floor.
Relocated the existing air conditioning duct (which turned out to be more complex than expected).
Installed skylights.
Added power outlets from the existing light source.
Plasterboarded the roof framing and installed cupboards in the roof space.
Installed new downlights.
Built and installed the new staircase.
Removed the old attic ladder.
Installed new floorboards in the attic and on the stairs.
Painted the entire space.
Installed the staircase balustrade.
Completed final touch-ups and the last coat of paint.
Charlie and his team were excellent. They promptly addressed unexpected challenges, offered solutions, and maintained a clean workspace daily. While tradespeople usually start at 7 AM, they accommodated our toddler’s daycare schedule and began at 8 AM instead. The quality of work was outstanding, with Charlie ensuring his subcontractors met high standards.
Pictured below: Progress photos of construction


The Final Costs and ROI
Total Costs
Built-in wardrobes: $3,150
Strata by-law and registration: $850
Attic renovation (including staircase): $53,000
Total investment: $57,000
Return on Investment
The renovation added 20 sqm of internal living space. In our area, the average price per square meter for a townhouse is $9,000, meaning we added approximately $180,000 in value. Since it’s an office space rather than a bedroom, I conservatively estimate an added value of $120,000.
ROI Calculation:
Added value: $120,000
Investment: $57,000
ROI: 210% ($120,000 ÷ $57,000 x 100)
Pictured below: The finished product


Final Thoughts
If you're considering an attic renovation, I highly recommend doing thorough research, securing strata approvals early, and working with professionals who listen to your needs. If you have any questions about the process, feel free to reach out—I’m happy to share my experience!